
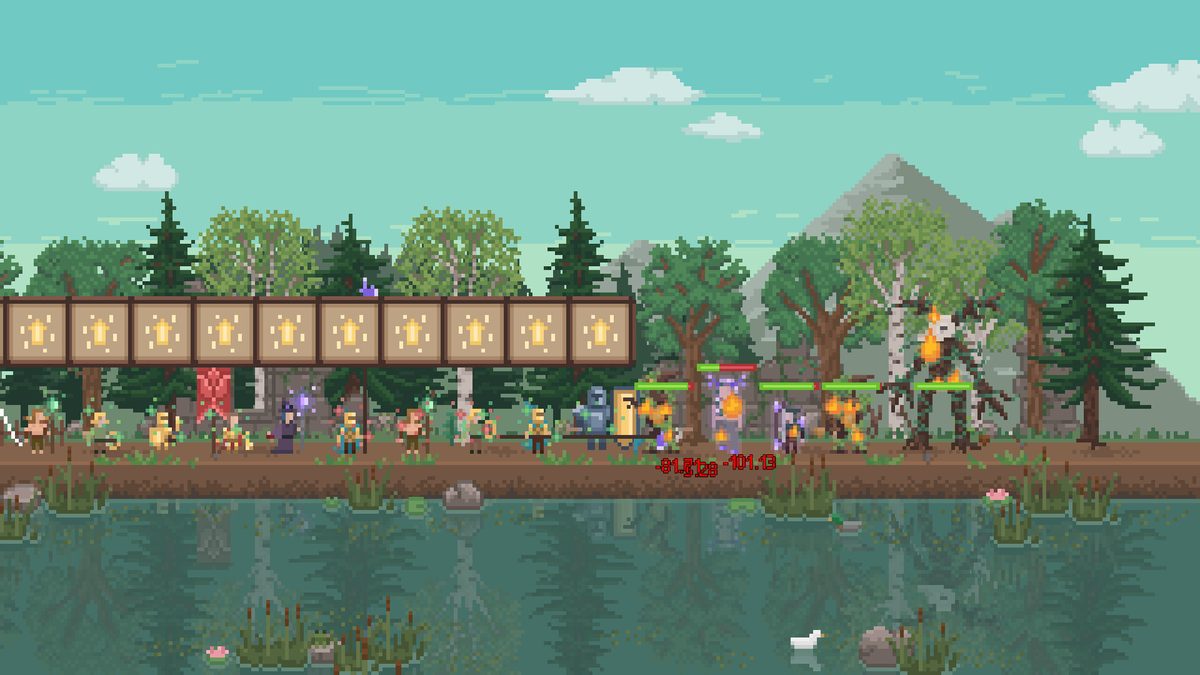
There is no single best formation for every fight
Combat is an auto-battle system with formation decisions before the fight. The official store description promises five unit types with tiers and synergies, so a formation that wins one encounter can fail when enemy targeting or durability changes.
Use three questions:
- Who is dying first? That is your protection problem.
- Are damage dealers surviving long enough to work? If not, formation comes before raw damage.
- Is the fight close enough that one upgrade changes it? If not, farm a safer encounter and improve the army first.
Put ranged units behind a front line
Full-release gameplay explicitly places Archers in the back line. Treat that as the baseline: protect ranged output with tougher front-line units rather than exposing it to the first contact.
Do not turn that into a rigid “always use exactly X Spearmen + Y Archers” formula. The current source set does not support one universal composition for every quest.
Multiple formations become useful later
Current full-release footage shows the player selecting which formation goes to which battle, including separate formations fighting different encounters. That changes army planning: your strongest five units do not always need to sit in one blob if two efficient farming teams can run useful content.
A second formation is valuable when:
- it can clear a safe quest without stealing the units needed for progression;
- recovery/cooldown time makes parallel fights more efficient;
- one encounter rewards a resource your economy currently needs.
Farm what you can clear reliably
Early combat footage shows low-danger fights repeatedly supplying combat progression/resources. A harder encounter that nearly wipes the team can be worse per minute than a safe fight you can immediately repeat.
Move up when you have enough survivability or damage to reduce losses and recovery time.
Upgrade the stat that changes the outcome
If units die in one or two hits, a small damage increase may not help. If they survive comfortably but time out or lose a damage race, more health may be wasted.
The useful sequence is:
- observe the failure;
- change one relevant stat/formation choice;
- retry;
- only keep spending if the result moves meaningfully.
This is more reliable than buying every available military upgrade evenly.
Current unit-level cost changes in v1.0.6
Hotfix v1.0.6 reduced Glory requirements for Spearman, Swordsman and Archer Level 3 upgrades by roughly 30%. If an older guide tells you to farm a larger Glory total before those upgrades, verify the current in-game requirement.
Difficulty changed in v1.0.4
v1.0.4 changed the calculation used to apply combat difficulty and adjusted Easy downward under that new calculation. Comparing exact outcomes from a pre-v1.0.4 video to your current save can therefore be misleading.
What about Main Quest 13 / “Protecting the Kingdom”?
Players are currently asking for a reliable formation for a Spearman-heavy wall in this quest. We have confirmed the question, but not a current, repeatable solution with enough evidence to publish a fake “best formation.”
Until verified, use the principles above and do not trust a made-up composition copied without version context.
Sources
- Official store combat description: store.steampowered.com/app/4536900/Next_Reign_Kingdom/
- v1.0.4 difficulty change: steamdb.info/patchnotes/25149457/
- v1.0.6 Level 3 Glory reductions: steamdb.info/patchnotes/25156796/
- Full-release transcripts supplied for this site (Archers in back line, multiple formations, combat progression)